Managing Documents
How Can I...
- Upload Documents
- Create Files
- Delete Files
Availability
![]() Profile Permission Required: View, Create, Modify and Delete Document Folder permissions in the user's profile.
Profile Permission Required: View, Create, Modify and Delete Document Folder permissions in the user's profile.
Upload Documents
Upload presentations, spreadsheets, PDFs, etc. within your Documents tab in Nonprofit Vertical CRM. You can upload 10 files at a time.
To upload documents
- Click the Documents tab.
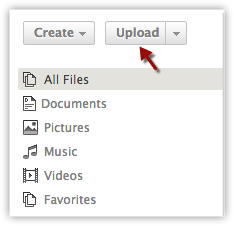
- In the Documents tab, click Upload.Each file size should not exceed 20 MB.
- Select the files from your local drive and upload.You can also drag and drop the files from your desktop.

Create Files
You can create documents, presentations and spreadsheets using Nonprofit Vertical Writer, Zoho Show and Nonprofit Vertical Sheet respectively.
To create a file
- Click the Documents tab.
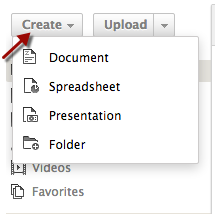
- In the Documents tab, click Create.
- From the menu, click on the type of file that you want to create.

- In the popup box, specify a name for the file.You will also see the folder under which the file will be saved.
- Click the Change link to save the file in a different folder.
- Click Create.A new file will be opened in Nonprofit Vertical Writer, Zoho Show or Nonprofit Vertical Sheet based on the type of file that you are creating.
Attach Files from Documents Tab
Files uploaded under the Documents tab can be linked to multiple records as attachments.
To attach a file from the Documents tab
- Click open the record to which you want to attach a file.
- In the Record Details page, under Attachments, click the Documents link.
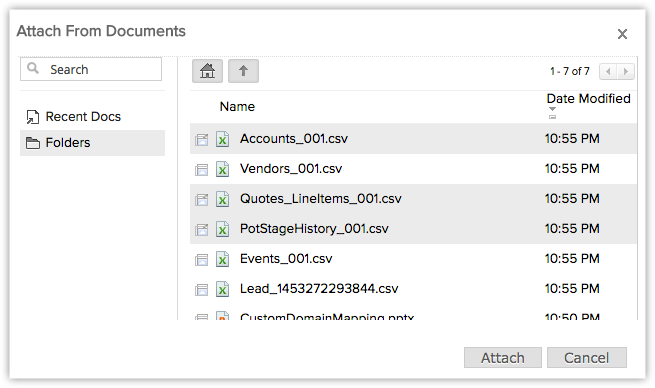
- From the Attach from Documents pop-up box, select the files that you want to attach.

- Click Attach.The files will be attached to the record.
Delete Files
You can delete a folder only if you have the profile permission to delete a document folder. On deleting a folder, the files in it will also be deleted and moved to Trash.
To delete a file
- Click the Documents tab.
- In the Documents tab, click on the foledr from which you want to delete a file.
- Right-click on the file that you want to delete and click Delete.The deleted files will be listed under Trash.
Other Functions
Some of the other options available for documents are listed below in the table:
| Feature Options | Description |
| Download | Download files from folders and store them in your local drive. |
| Check-out | Check-out the documents and upload the updated versions of it. |
| Review | Write a review for the document. |
Related Articles
Managing Mail Merge Templates
Mail merge is a function that helps you to simplify repetitive tasks to create personalized documents (Forms, Letters, Address Labels, Envelopes, etc.). You can create a mail merge template that would contain the variables (merge fields) in it. Using ...Document Library within CRM
Brochures, PDF docs, RFPs, invoices, comparison docs, guides, presentations, forms, etc. are just some of the documents that people may use frequently in business. You may constantly make changes to these business resources and keep them up-to-date ...Managing Subscriptions
Manage subscriptions : While canceling a subscription, a cancellation reason will be prompted in the screen by default. Let your customers give you their feedback on cancellations. Configure your best possible reasons or let them type in their own ...Managing Autoresponders
Autoresponders are the solution to send automated replies and follow-up emails to the prospects and customers. Once you receive a response from the lead or contact, you have to manually exclude the contacts from the mailing list. See ...Managing CRM Account Settings
Once you sign up for Nonprofit Vertical CRM and have your own account, you can personalize your CRM account. By default, the mandatory information provided by you at the time of sign up, is automatically updated. After logging in, you can change ...