When you access the Social tab (without already having configured a social media account) you will see the Welcome screen, from which you can begin adding your social media accounts.
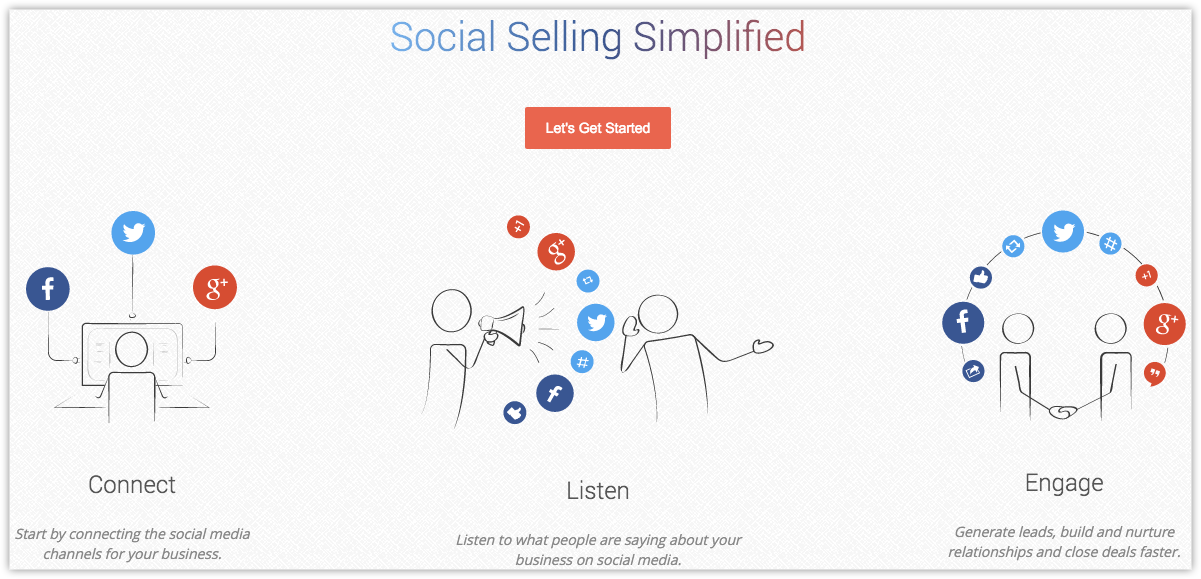
Once you configure any or all of these social media accounts (Facebook, Twitter or Google+), the Social tab will be updated with social media posts from your contacts.
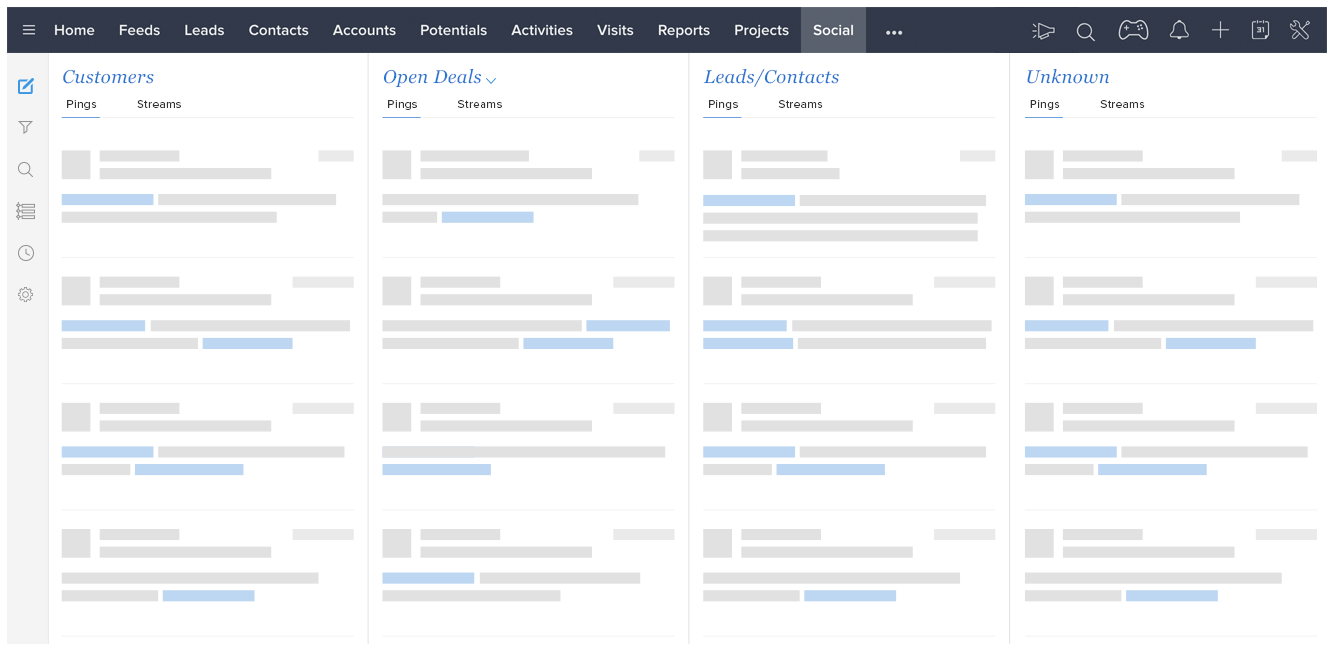
Also, the Leads and Contacts will have a new Related List called Social Interactions in the record's details page. All Twitter, Facebook and Google+ interactions associated to the lead/contact will be displayed in this related list.
Availability
![]()
- Available in: Professional and Enterprise Editions
- Permission Required: Social Admin Permission (enabled for Administrators by default)
Add Facebook Page
With your Facebook company page associated to Nonprofit Vertical CRM, you can perform the following set of actions from within CRM.
- Publish status updates.
- View your posts as well as comments and likes on your posts.
- Like a post.
- Make a comment on a post.
- Receive and reply to messages on the Page.
To add a Facebook page
- Log in to Nonprofit Vertical CRM as an Administrator/Social Admin.
- Go to Setup > Channels > Social > Facebook.Alternatively, if you are on the SocialTab, click the Settings icon. In the Social Settings page, select the Facebook tab.
- Click Add Account.Please make sure that the pop-up blocker is disabled in your browser.
- In the Facebook popup, specify the login credentials for your company's Facebook account that you want to associate to Nonprofit Vertical CRM.
- Click LogIn.If you are already logged in to your Facebook account outside of Nonprofit Vertical CRM, you will be informed that "You are already logged in as [user]". Click Continue in order to continue configuration as the logged in user. Or else click Change User to log in as a different user.In order for the Facebook page to be added, you must authorize your Facebook account and grant permissions for Zoho Social to access information from your Facebook account. You can review and choose the set of actions to be performed as per your requirements. They are as shown in the screenshots below.Your Facebook account is now integrated with Nonprofit Vertical CRM.
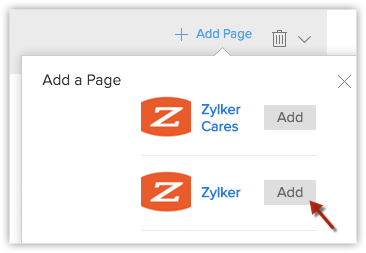
- Click AddPage.Your organization's Facebook pages will be listed.Click Add for the corresponding page that you want to add.
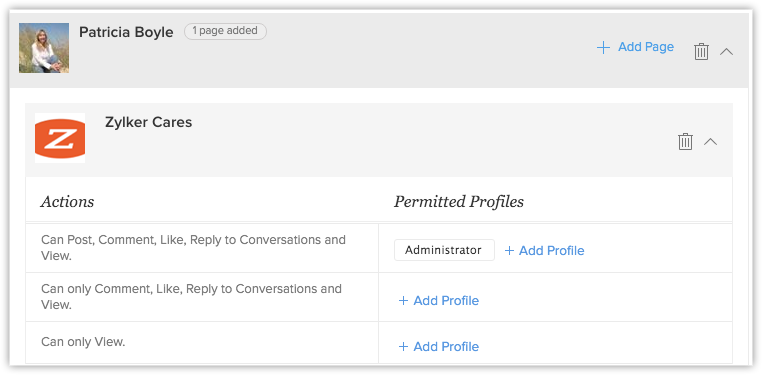
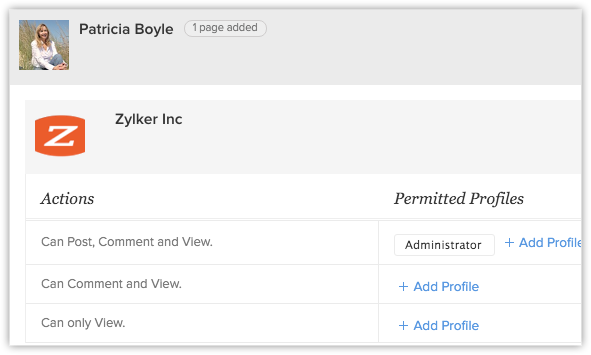
- Set permissions for Actions:
- Actions - You can define the set of actions that users under each profile are permitted to perform. For example, you may want certain users to post updates and comments but some others to just view updates. In such a case, you can restrict them from posting content on Facebook in the Actions section.By default, the Administrator profile is granted all available permissions.
Add Twitter Handle
With your Twitter account associated to Nonprofit Vertical CRM, you can perform the following set of actions from within CRM.
- Tweet and retweet.
- Reply to tweets.
- Mark tweets as Favorite.
- View your Tweets, tweets mentioning your brand and their replies.
- View the Twitter Timeline of Leads/Contacts.
- Search Twitter for topics relevant to you.
- Receive and reply to DMs.
To add a Twitter handle
- Log in to Nonprofit Vertical CRM as an Administrator/Social Admin.
- Go to Setup > Channels > Social > Twitter.Alternatively, if you are on the SocialTab, click the Settings icon. In the Social Settings page, select the Twitter tab.
- Click Add Account.Please make sure that the pop-up blocker is disabled in your browser.
- In the Twitter popup, specify the login credentials for your company's Twitter account that you want to associate to Nonprofit Vertical CRM.
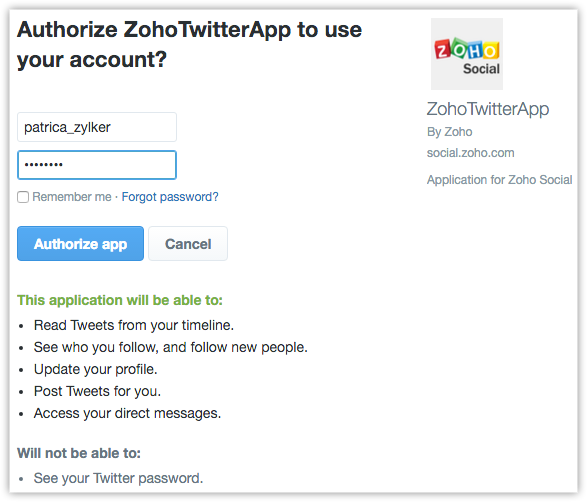
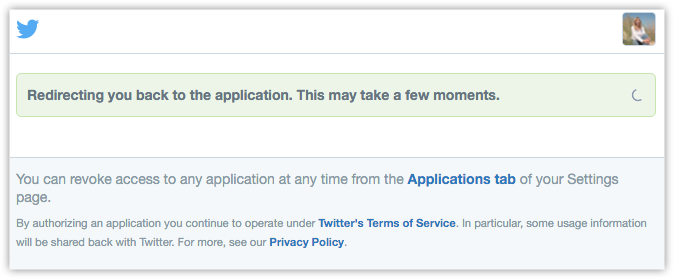
- Click Authorize app.Once the account is authorized, you will be redirected back to Nonprofit Vertical CRM.
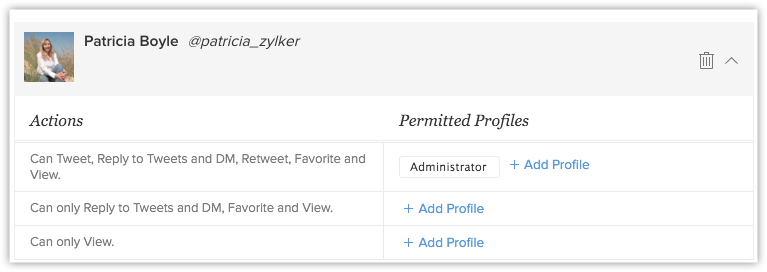
- Set permissions for Actions:
- Actions - This permission defines the actions that can be performed by users in each profile.By default, Administrator can perform all available actions.
Add Google+ Page
With your Google+ Page associated to Nonprofit Vertical CRM, you can do the following actions:
- Post status updates.
- View your posts.
- View others' comments on your posts.
- Make comment on posts.
To add a Google+ Page
- Log in to Nonprofit Vertical CRM as an Administrator/Social Admin.
- Go to Setup > Channels > Social > Google+.Alternatively, if you are on the SocialTab, click the Settings icon. In the Social Settings page, select the Google+ tab.
- Click Add Account.
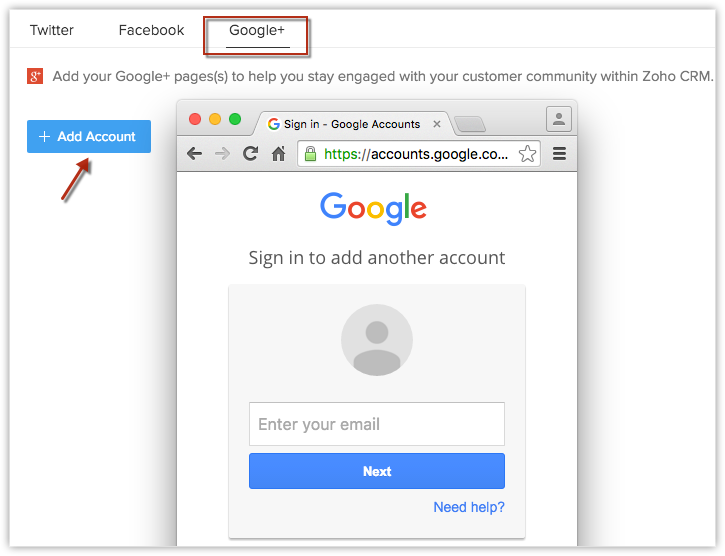 Please make sure that the popup blocker is disabled in your browser.
 - In the Google Sign In popup, enter your login credentials and Sign in to your Google+ account.
- In the Request for Permission pop-up, click Allow to authenticate the account.Your Google+ account is now associated with Nonprofit Vertical CRM.
- Click Add Page.The Company Page(s) associated with your Google+ account will be displayed.
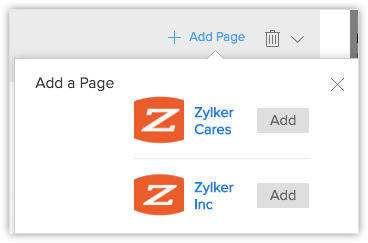
- Click Add for the desired Page(s).
- Set Permissions for Actions.
- Actions - This permission defines the actions that can be performed by users in each profile.By default, Administrator can perform all available actions.
Remove Twitter/Facebook/Google+ Company Profile
Your company's Facebook, Twitter and Google+ accounts associated to your Nonprofit Vertical CRM account can be removed easily.
To remove Twitter/Facebook/Google+ account association
- Log in to Nonprofit Vertical CRM as an Administrator/Social Admin.
- Go to Setup > Channels > Social > Twitter/Facebook/Google+.Alternatively, if you are in the SocialTab, go to Settingicon > Twitter/Facebook/Google+ to delete a profile.
- Click on the Delete icon for the corresponding Twitter profile, Facebook page or Google+ Page.
- Click Yes, Delete now to confirm deletion.
Enable Social Admin Permission
The Social Admin permission can be enabled in Nonprofit Vertical CRM for those who manage the social media activities in an organization. A user with the Social Admin permission enabled in his/her profile will have access to Social Settings in Nonprofit Vertical CRM. That is, a social admin will be able to set up social media accounts and manage permissions of other users who have access to them.
Only the Super Admin or a user with Administrative privileges can enable Social Admin permissions for other user profiles.
To enable Social Admin permission
- Log in to Nonprofit Vertical CRM with Administrative privileges.
- Go to Setup > Users & Control > Security Control > Profiles.
- Click Edit for the Profile for which you wish to grant the Social Admin Permission.
- Scroll down to the Social Permissions section.
- Enable the Social Admin permission.
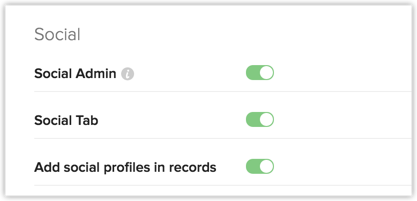
- Social Profiles - Contact/Lead Details Page : This represents the ability to associate the personal Facebook/Twitter profiles of Leads/Contacts in Nonprofit Vertical CRM.
- Social Tab : This represents the access to the Social tab.
- Social Profiles - Contact/Lead Details Page : This represents the ability to associate the personal Facebook/Twitter profiles of Leads/Contacts in Nonprofit Vertical CRM.
- Click Save.